
.svg)
Want to avoid a botched paver sealing job? Missteps during the sealing process can waste time, money, and effort. Discover the top mistakes to avoid when sealing your pavers in this guide. We’ll cover what not to do—from incorrect sealer selection to rushing the job in bad weather—providing you with clear actions to avoid common pitfalls and achieve a flawless finish.
First and foremost, the type of paver sealer you choose can make or break your project. Selecting the incorrect sealer type can lead to irreparable damage, failed sealer, and white hazing all over the pavers, resulting in additional cost and effort to remove the failed sealer. Imagine putting in all that time, effort, and resources just to end up with a result that doesn’t match the pavers’ natural color or, even worse, results in premature wear.
Choosing a water-based sealer when a solvent-based sealer is needed, or vice versa, can lead to issues such as white stains or a hazy appearance. Applying a solvent-based sealer over a water-based one can lead to poor adhesion and failure of the sealant. Therefore, always ensure you select the correct sealer for your specific pavers and environment to avoid these common pitfalls when sealing pavers.
Proper pre-seal preparation is as important as choosing the right sealer for proper sealing itself. Many homeowners make common mistakes, such as skipping this critical step or not doing it correctly.
Let’s delve into two key aspects of pre-seal preparation: cleaning with an efflorescence cleaner and efflorescence removal.
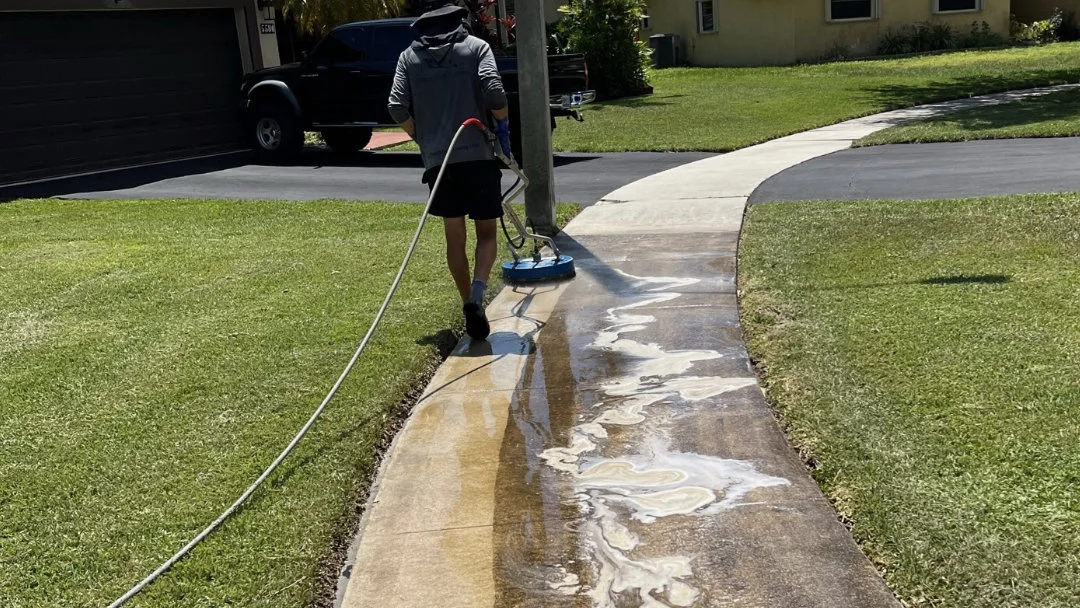
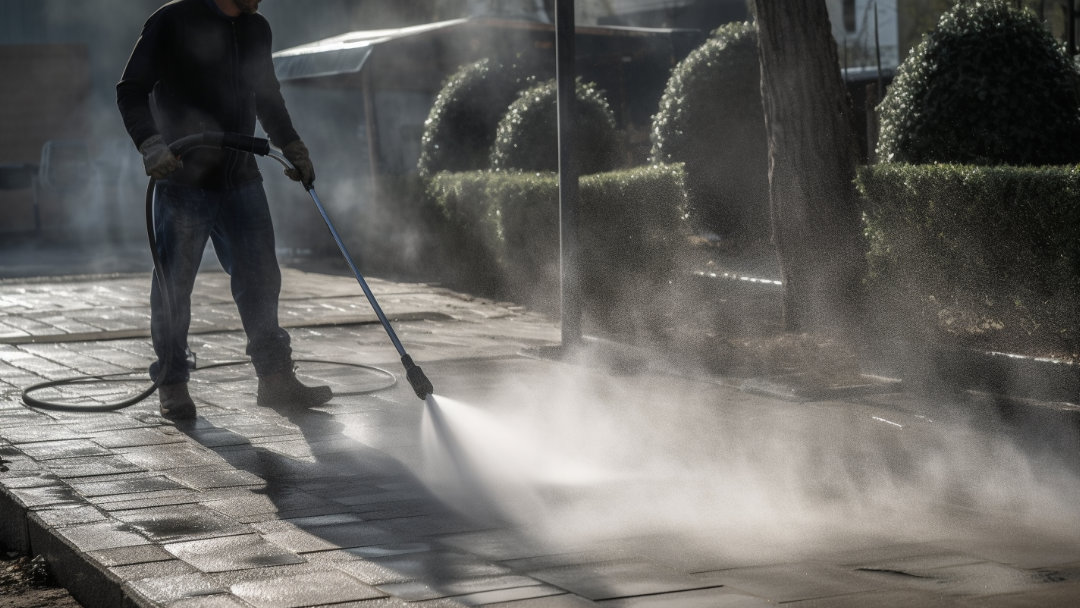
Before you even think about applying sealer, your pavers need to be as clean as a whistle. Any dirt, oil, grease, paint, or old sealers can prevent the new sealer from adhering properly, leading to an uneven finish or premature wear. But how do you effectively clean your pavers?
Start by using a mild degreaser detergent mixed with warm water. This will help remove stains and grime without damaging your pavers with harsh chemicals. Once the cleaning solution is applied, scrub the pavers using a stiff-bristled broom, then rinse with clean water. This diligent cleaning process ensures your pavers are ready for the sealant, setting the stage for a stunningly sealed outdoor space.
Efflorescence is another critical factor to consider in pre-seal preparation. This white powdery residue appears on pavers when salt in the brick moves to the surface after being exposed to water.
Ignoring efflorescence before sealing can interfere with the sealer’s effectiveness and result in an uneven or discolored finish. Therefore, always ensure to remove any efflorescence from your pavers before proceeding with the sealing process. By doing so, you’ll be setting the stage for a successful sealing project that will leave your patios looking perfect every time.
Joint sanding is a critical step that is often overlooked during the paver sealing process. Proper joint sanding can:
This means proper drainage plays a key role in preserving the aesthetics and functionality of your pavers.
To carry out joint sanding effectively, follow these steps:
Applying sealer might seem like a simple task, but it can be a real challenge without the right technique and equipment. Let’s examine the importance of even coverage and curing time considerations.
Applying paver sealer in the proper amount is crucial to prevent both excessive buildup, leading to a hazy and opaque appearance, and inadequate protection of pavers. Excessive application of sealer can result in an uneven finish with bubbles, milky, white stains, or discoloration, while too little sealer can cause lines and diminish the beauty of the pavers.
For an even distribution of sealer, follow these steps:
Overlapping lines and color variations on pavers are typical signs indicating inconsistent sealer application.
A fan tip on a low-pressure sprayer can be utilized to help achieve a uniform sealer application, and for even coverage of sealer on paver edges and hard-to-reach areas, using a quality paintbrush is beneficial.
Allowing proper curing time for the sealer is critical to prevent premature wear or an uneven finish, and to avoid white marks or stains on the pavers. Curing time for sealers depends on several factors, including the type of product, the thickness of the coating applied, and the environmental conditions during application.
It is essential to apply two coats of sealer following the manufacturer’s instructions for drying time between applications to ensure optimal performance and longevity. So, when sealing your pavers, always take the time to allow the sealer to cure properly. It might require a bit of patience, but it will surely pay off in the long run.
The weather plays an important role in paver sealing. Paver sealer should ideally be applied when the temperature is between 40 to 75 degrees Fahrenheit to avoid issues such as:
Applying sealer in extreme temperatures or during rain can lead to problems when using the wrong technique.
After applying sealer, a period of 24-48 hours with no rain is crucial to ensure the product cures correctly, preventing premature sealing failure. In cases where the stone cannot be completely dry, there are specific ‘same-day’ sealers available that can be applied but may have special requirements or performance characteristics.
Hence, always keep an eye on the weather forecast before and after sealing your pavers.
Investing in high-quality sealants, particularly those that offer UV protection, helps in preventing the degradation of paver color and maintains the overall aesthetic appeal of outdoor spaces. However, even the highest quality sealants can lose their effectiveness if not stored properly. To ensure the longevity of your sealants, purchase them from reputable home improvement stores that provide proper storage conditions.
Sealants should be stored at room temperature, between 40℉ and 80℉, to maintain their optimal consistency and effectiveness. When storing sealants, remember:
By following these storage guidelines, you can ensure that your sealants remain in good condition and ready for use.
Organizing sealants by type and tracking their shelf life enables users to utilize older products before they expire, ensuring the effective sealing of pavers and reducing product waste.
While many homeowners prefer to embark on DIY paver sealing projects, there are instances when it’s best to consult professionals. Professional paver installers bring critical expertise regarding local environmental factors that affect material choices and maintenance requirements. They use advanced techniques and have access to superior materials to ensure the durability and aesthetics of the hardscapes they create.
Qualified professionals ensure that the installation is not only efficient but also adheres to local building codes, including ADA guidelines. Professional installation teams are trained to move swiftly from design through completion, which can save homeowners time. It is crucial for homeowners to recognize when the complexity of a project exceeds their skills and to see the value in hiring experienced professionals to avoid costly errors.
.svg)
.svg)
.svg)


.svg)
.svg)